...Return To Mine & Other Bonneville Car Construction Pages
.Previous Page...............B'ville Car Index Page.........................Next Page
.........................................-- Chute Attach Point --
.................. .
.
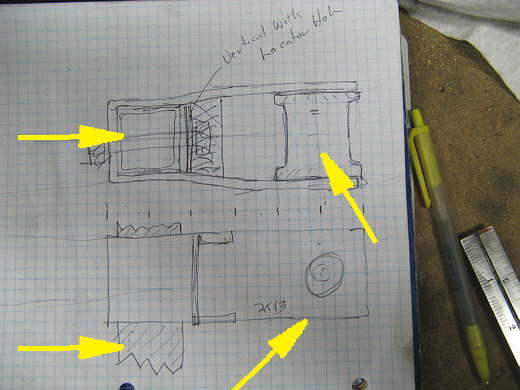
Previously I had made a vertical bar that would house brackets that the chute lines would attach to. In the overhead and side view the two left arrows point to the vertical bar. The two right arrows point to the roller that the lines will go around. The rest is the bracket that will be made to joint the bar and roller together.
.................. .
.
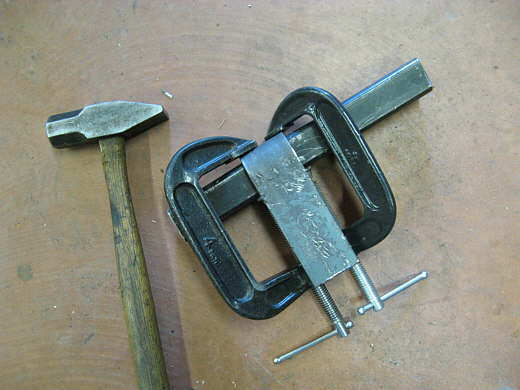
I was able to bend one leg of the bracket in the vise with the big hammer. To bend the other side over I clamped it to 1 1/2 inch square tubing (same as the vertical bar) and beat it into shape with the hammer and finish in the vise.
.................. .
.
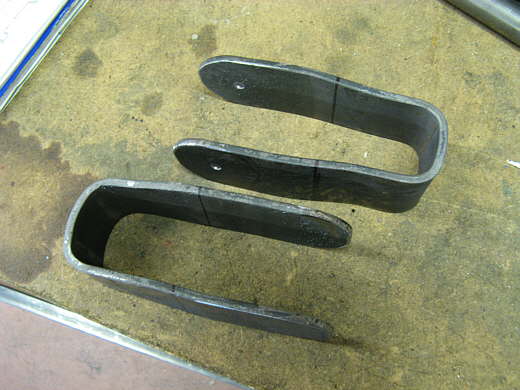
I beat on these for a while until one end was pinched in to ride on the 1 1/2 inch square tubing and the other was opened up to accept a 2 inch wide roller.
.................. .
.
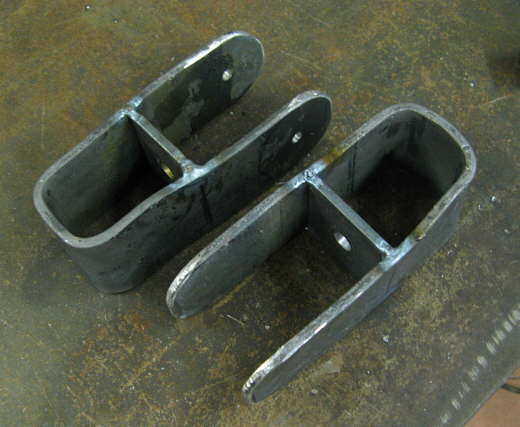
Next a piece of strap was tacked into place after I had drilled a hole in the center of it. This will help to hold the bracket in the shape I want it and to also help locate it vertically on the bar it will be mounted on.
.................. .
.
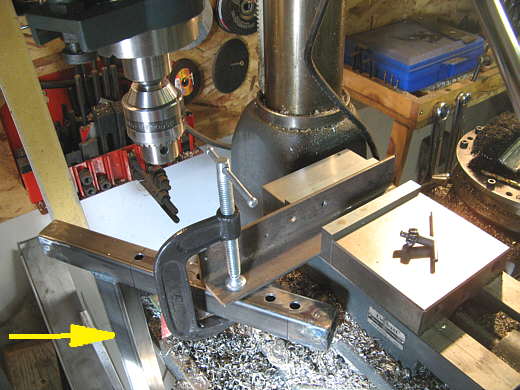
I then drilled holes 1 1/8 inch apart in the vertical bar that the brackets will attach to. The holes will allow me to move the brackets up and down to some degree to get the right pull on the car from the open chute. I had gotten myself into a corner by previously welding the "push bar" ( arrow) to the vertical bar. I was able to drill most of the holes with the bar in the vise on the mill/drill, but the other bar didn't allow me to move the table over far enough to drill the last three holes. I marked them and then clamped the bar to hang off the end of the table and swung the head of the mill over to the side and was able to drill these holes also.
.................. .
.
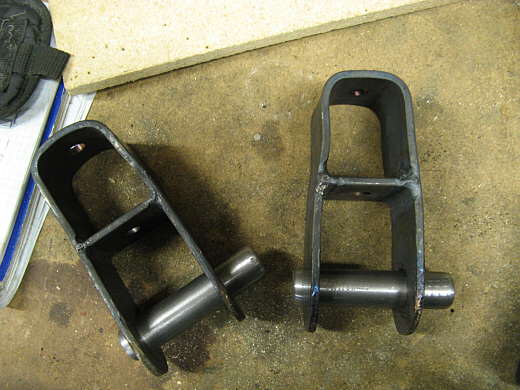
Two pins that will go through the rollers were made from 7/8 inch cold rolled steel.
.................. .
.
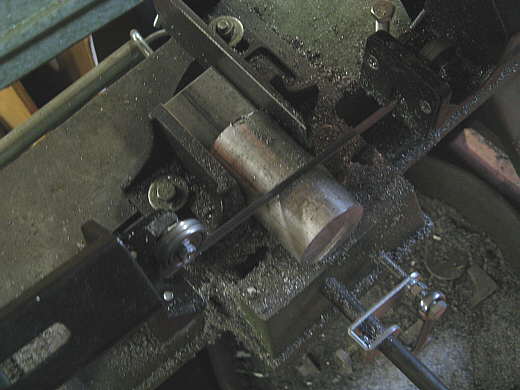
Some 2 inch in diameter aluminum was cut to a little over 2 inches long.
.................. .
.
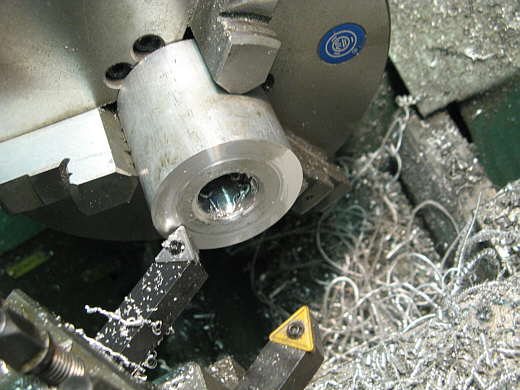
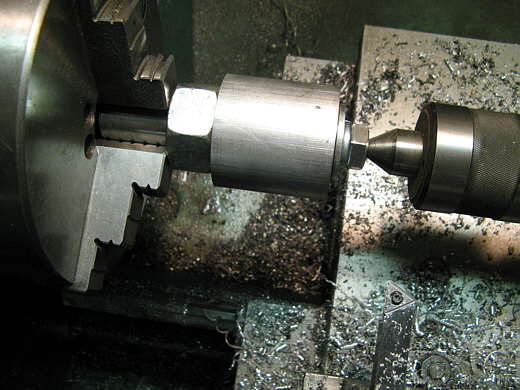
Next the end was cut square/flat in the lathe and a small .012 step was machined into the end. After machining one end it was turned around and cut to a 2 inch length and a step put on the other end also. You can also see that they were drilled with a 7/8 inch bit down their centers. I say they as 2 of these were made for the two brackets. The two brackets are in case I ever decide to run a second chute. Right now I'm just hoping that the car will run fast enough in a year or so to justify one chute.
.................. .
.
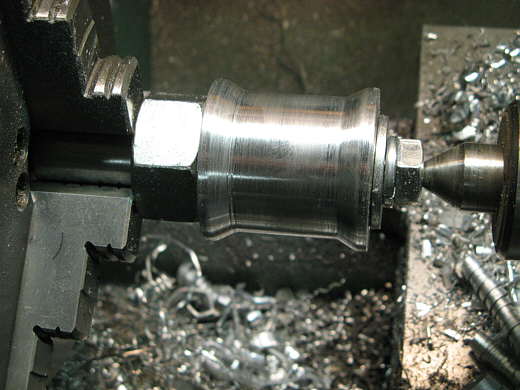
I was in a bit of a bind as to how to hold the aluminum so I could do all the rest of the machining with only holding it in the lathe once. I took another piece of 7/8 cold rolled and drilled and tapped one end. It was put into the jaws of the chuck and tightened down. Then a nut (for a spacer) was slid over it and the aluminum was next slid over the rod. Then a bolt was put in the end of the rod and tightened down. That clamped the aluminum against the nut and the nut against the face of the chuck. I had countersunk a hole in the end of the bold for the live center on the right to go into to support the other end of the work piece. This all worked well.
.................. .
.
Here I have finished cutting on the aluminum and next I'll hit it with a couple files and some emery cloth.
.................. .
.
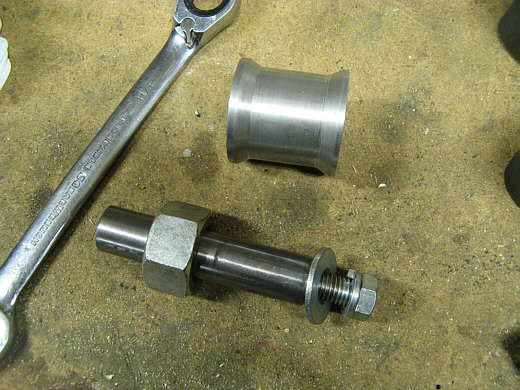
A view of the finished roller and the rod that I made to hold it in the chuck.
.................. .
.
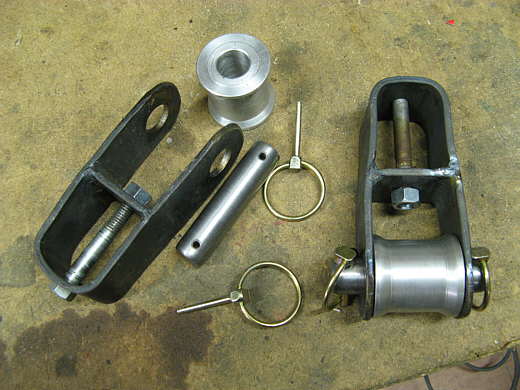
The final assembly. The bolts in the brackets will locate the bracket on the vertical bar. The pins have been drilled on their ends for the lynch pins. I also took a few thousands off the 7/8 rods so that the rollers would spin freely on them.
.................. .
.
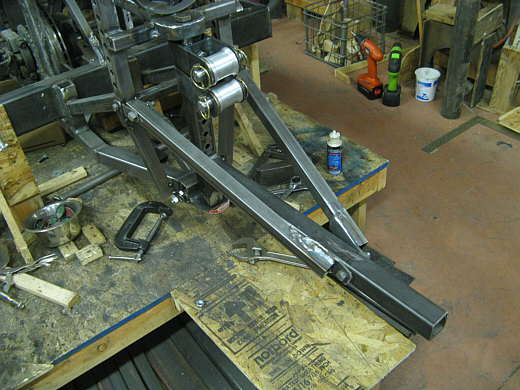
The brackets mounted on the car. The chute lines will be attached to these and then go into the tubes above them (not shown). Next the chute will be stuffed into the tubes and held in there by trap doors. That all still has to be made. The current record for the motor size I'm running at this point is under 175 mph, so chutes aren't even required, but I hope to have one chute installed this summer so that no matter how fast I run I can test the chute and all of this associate hardware.
..............................................................Next Page